
Table of Contents
Introduction
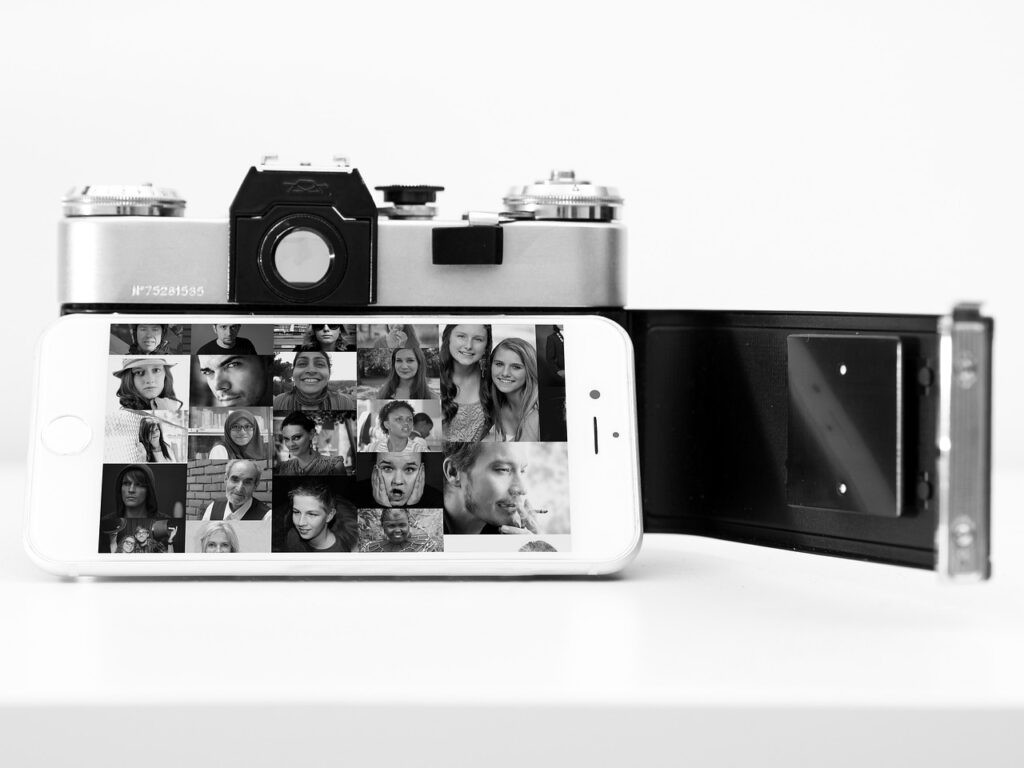
The world of photography has been revolutionized by the advent of iPhones, making it easier than ever to capture stunning images with just a smartphone. The key benefits of using an iPhone for photography are numerous, including:
- Portability: The compact nature of an iPhone makes it convenient to carry around, allowing you to capture moments on the go without the need for bulky equipment.
- Quality: With advancements in camera technology, iPhones are capable of producing high-quality images that rival those of professional cameras.
- Versatility: The wide range of apps and accessories available for iPhones provides endless opportunities for creativity and experimentation in photography.
With these advantages in mind, mastering the art of iPhone photography can open up a world of possibilities for both amateur and professional photographers. In the following steps, we will explore how to leverage the features of an iPhone to capture professional-level photos with ease.

Step 1: Composition Tips for iPhone Photography
When it comes to taking professional photos with your iPhone, understanding composition is key. Composition refers to how the elements in your photo are arranged and how they interact with each other. Here are some composition tips specifically tailored for iPhone photography:
1. Rule of Thirds
The rule of thirds is a fundamental principle in photography composition that can be easily applied on an iPhone. Imagine dividing your frame into a 3×3 grid by overlaying two horizontal and two vertical lines. The points where these lines intersect are called the “power points.” Place your subject along these power points or along the lines to create a well-balanced and visually pleasing composition.
2. Unique Viewpoints
One advantage of using an iPhone for photography is its portability, which allows you to explore various angles and viewpoints effortlessly. Instead of shooting from eye level, try getting down low or finding a higher vantage point to add interest and uniqueness to your photos. Experimenting with different perspectives can lead to captivating compositions.
Remember, composition is subjective, and there are no hard rules. It’s all about what looks visually appealing to you and effectively communicates your intended message or story. Don’t be afraid to experiment with different compositions and trust your creative instincts.
Pro Tip: Use the grid feature on your iPhone camera settings to easily apply the rule of thirds and guide your compositions.
By mastering composition techniques like the rule of thirds and exploring unique viewpoints, you can elevate your iPhone photography and capture stunning images that stand out from the crowd.
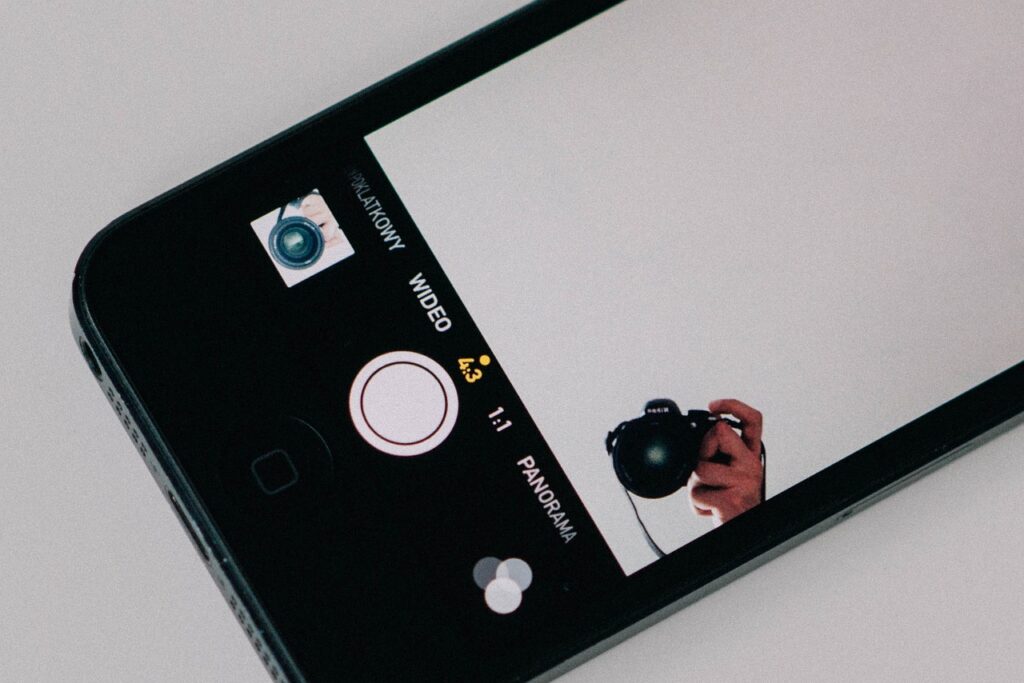
Step 2: Mastering iPhone Camera Settings for Professional Shots
When it comes to capturing professional-level photos with your iPhone, understanding and mastering the camera settings is crucial. Here are some key points to consider:
Overview of Important Camera Settings
The iPhone offers a range of essential camera settings that can significantly impact the quality of your shots. Understanding features such as exposure control and focus adjustment can help you achieve the desired effects in your photos.
Exposure and Focus
Learning how to adjust exposure and focus on your iPhone can make a remarkable difference in your photography. Experimenting with these settings allows you to control the brightness of your images and ensure that the main subject is sharply focused.
Tips for Using Manual Mode
While the native camera app provides automatic settings, exploring manual mode can give you more control over your iPhone camera. Adjusting settings manually allows you to fine-tune aspects such as shutter speed, ISO, and white balance, empowering you to capture professional-quality shots tailored to your specific vision.
By familiarizing yourself with these camera settings and techniques, you can elevate your iPhone photography skills and produce stunning, professional-level images.
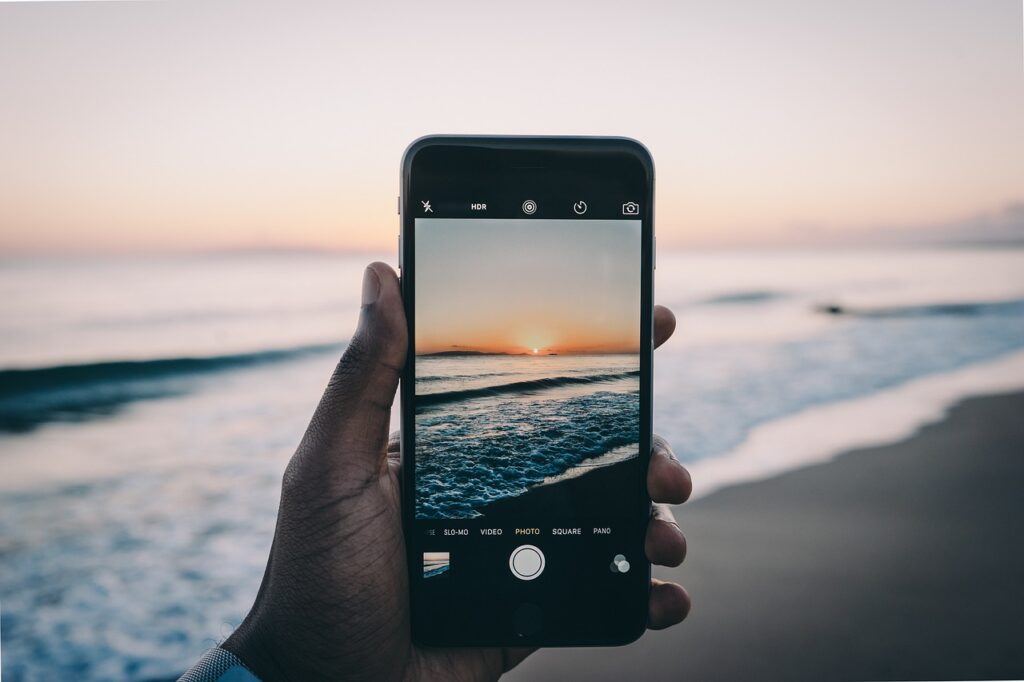
Step 3: Using Portrait Mode and HDR for Better iPhone Photos
Portrait mode and HDR (High Dynamic Range) are two features that can greatly enhance your iPhone photography. By learning how to use them effectively, you’ll be able to capture stunning portraits and handle difficult lighting situations with ease.
Understanding Portrait Mode
Portrait mode is designed specifically for taking beautiful portraits with a blurred background. Here’s what you need to know about using this feature:
- Focus on your subject: When using portrait mode, make sure your subject is the main focus of the photo. This will help the camera accurately blur the background.
- Consider lighting: Portrait mode works best in well-lit environments, such as outdoors or near a window. Avoid using it in low-light situations, as it may result in grainy photos.
- Experiment with different depths: After taking a photo in portrait mode, you can adjust the amount of background blur using the editing tools. Play around with this feature to achieve your desired effect.
Making the Most of HDR
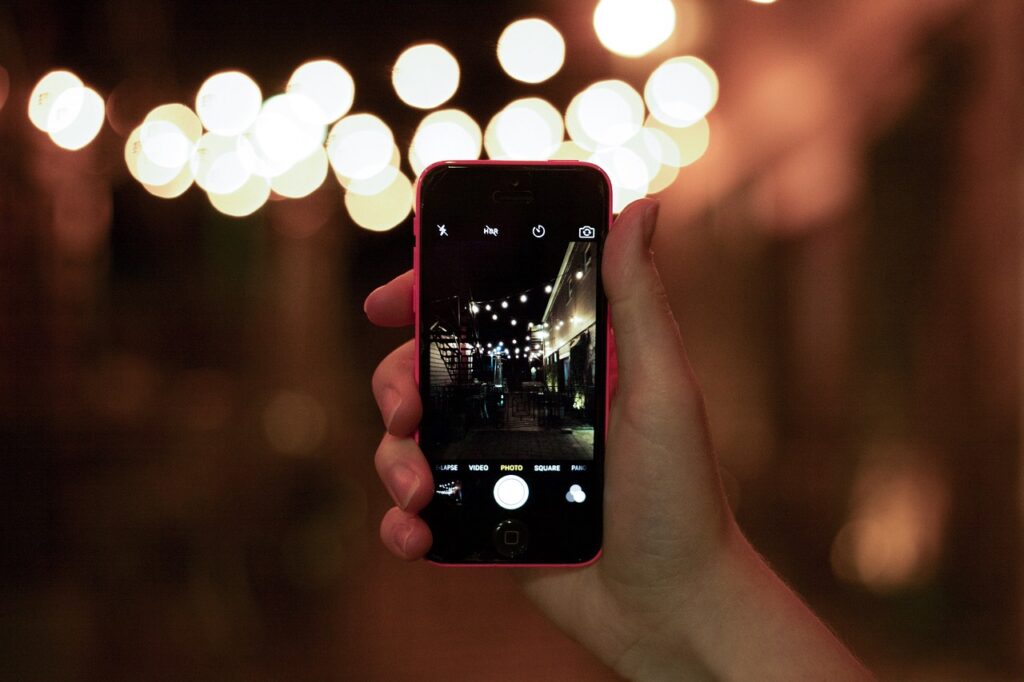
HDR is a useful tool for dealing with high-contrast lighting conditions. Here are some tips for using HDR effectively:
- Keep it on auto. By default, your iPhone is set to Auto HDR, which automatically activates the feature when needed. This is usually the best setting to use, as it allows the camera to determine when HDR will produce better results.
- Use it in challenging lighting: HDR works wonders in scenes where there are both bright and dark areas. It helps balance out the exposure and retain details in both areas.
- Stay steady: Since HDR captures multiple exposures and combines them into one image, any movement during the process can result in blurriness. Make sure to keep your iPhone steady when shooting in HDR mode.
By understanding how to utilize portrait mode and HDR effectively, you’ll be able to take your iPhone photography to new heights. Give these features a try and see the difference they can make in your photos!
Step 4: Capturing Stunning Close-up Shots with Macro Photography Techniques on Your iPhone
Macro photography lets you take detailed and textured close-up photos using your iPhone. Here’s how you can get the best results with macro photography:
1. Overview of Macro Photography
Explore the world of macro photography using these options:
- Use the dedicated macro-lens feature available on certain iPhone models.
- Consider buying third-party lenses made for capturing amazing close-up shots.
Example: The iPhone 12 Pro Max has a great macro lens that lets you focus on subjects as close as 2 centimeters away. This opens up countless creative possibilities for capturing intricate details.
2. Tips for Achieving Sharp Focus and Detail
Follow these tips to make sure your macro shots are focused and detailed:
- Tap on the specific area you want to highlight on your iPhone screen to manually adjust the focus and get it super sharp.
- Example: When taking a photo of a delicate flower petal or a tiny insect, pay attention to the lighting conditions. Using a tripod can also make a big difference in getting clear and detailed macro photos.
Mastering macro photography with your iPhone lets you show off the beauty of small things in an amazing way.
Step 5: Post-processing Magic – Editing Your iPhone Photos to Perfection
When it comes to taking your iPhone photos to the next level, post-processing is key. Luckily, there are plenty of great editing apps available on the App Store that can help you enhance your images with just a few taps. Two popular options are VSCO and Snapseed, both of which offer a wide range of features and filters.
Tips for Editing Your iPhone Photos
To ensure that your edited photos look natural and professional, here are some important steps to follow:
- Adjust Exposure and Contrast: Start by fine-tuning the brightness and overall balance of your image.
- Fine-tune Colors: Make subtle adjustments to enhance the vibrancy without overdoing it.
- Sharpening and Detail Enhancement: Bring out the details in your photos, especially close-up shots.
- Cropping and Straightening: Refine the composition and make sure everything is aligned properly.
Remember, the goal of editing is to enhance your photos while still maintaining their original charm. With these techniques, you’ll be able to create stunning images that stand out from the crowd.
Conclusion
Congratulations on making it to the end of this guide! Now it’s time to put all these tips into practice and start capturing stunning images with your iPhone.
With the knowledge and techniques you’ve learned, you have the power to take your photography skills to the next level. Professional-quality photos are now within your reach, right from the convenience of your iPhone.
Remember, practice makes perfect, so don’t hesitate to experiment with different compositions, settings, and features. The more you explore and practice, the more confident and skilled you will become in capturing breathtaking images.
So, grab your iPhone, head outdoors, and let your creativity flow. The world is full of incredible photo opportunities waiting for you to capture them. Happy shooting!


fghdfgdfg